Wait for provisioning, then power on the VM. After the BlueScale system boots, it should display this screen with the IP address where the Simulator can be accessed. The IP address is vended by your network’s DHCP and should be a unique address available on your network.
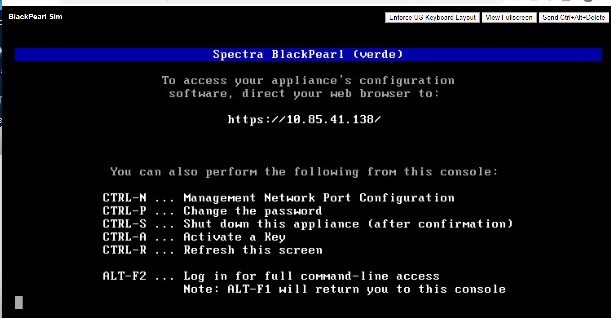
In this example, the management port and BlackPearl GUI can be accessed at http://10.85.41.138. The data endpoint for DS3 REST communication will be at the same address at port 8080 or http://10.85.41.138:8080. (Complete configuration to enable DS3 communication.)
Log into GUI
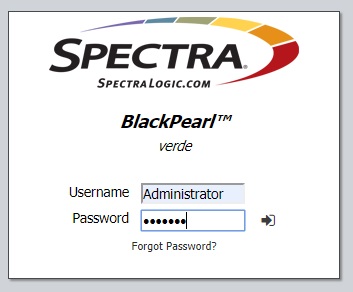
Open the management port address in a browser and login as Administrator (capital-A required) and the password “spectra” (all lower case). Note that the login screen will show Verde before the activation keys are entered and BlackPearl™, verde after.
Enter activation keys
(NOTE: This step is not required if the BlackPearl Simulator was deployed as an .ova. The keys will show as already entered.)
Open the Support menu in the top menu bar and select Activation Keys
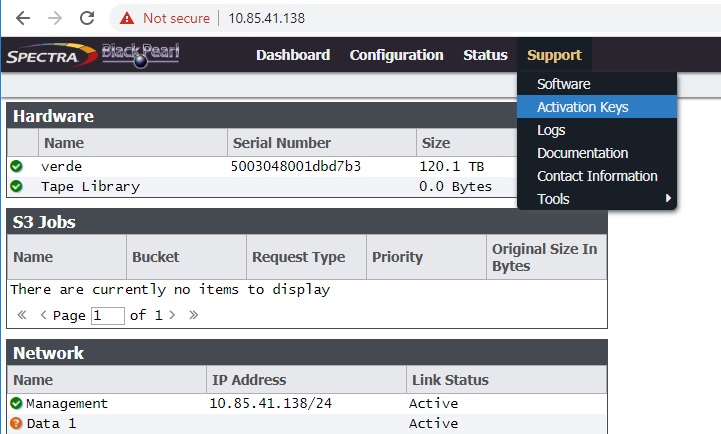
Click the [Action] menu at the top, then select Add.
Enter VWY2C58M75DFR7Q [Create]
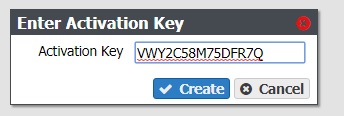
Enter 24GM7EQUZ5XS5QY [Create]
Enter FHPVCNZ3EY8V99B [Create]
Enter 4AC9Q4SW7PBN3F7 [Create]

Configure users
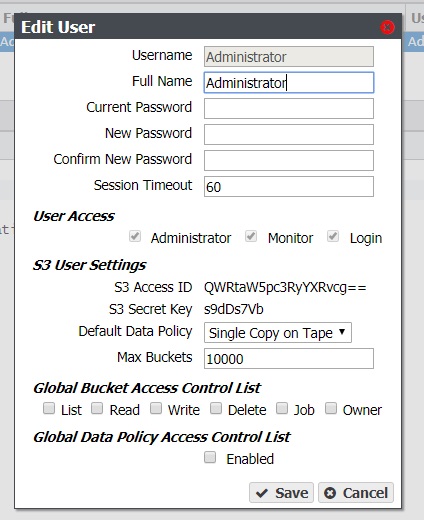
You may add users or just use the existing Administrator user. In either instance, go to Configuration -> Users. Action -> New or double-click on Administrator. For DS3 access, it is recommended that you configure a default data policy for bucket creation.
Copy the Access Key and Secret Key from the detail dialog. These will be required by your client.
Conclusion
If keys were added, restart the Simulator with the red power button in the bottom right hand corner. After reboot, it should come up as a BlackPearl™ and the DS3 REST interface should be available on port 8080, using the Access Key and Secret Key copied from the previous step.
The virtual disk is defined as 20GB and the simulator takes up a small portion of this. About 15GB is available for cache / object storage.
